
DELL BIOS UPDATES for ECO 10330
Link to download this file Dell_BIOS_V2.14.1.BIN is https://training.securewebportal.net/x360/x360Recover/BIOS_Updates_for_ECO_10330/Dell_BIOS_V2.14.1.BIN
DRMK: Dell Update Package installation instructions
Download the needed file:
1. Download the file on this link:
2. If the Export Compliance Disclaimer window appears, click the I agree link if you accept the agreement.
3. When the File Download window appears, click Save to save the file to your hard drive.
Installation:
NOTE: You must provide a DOS bootable media, such as a USB key. This executable file does not create the DOS system files.
1. Browse to the location where you downloaded the file.
2. Update the name of the file to DOS recognizable format (8.3). If you do not update the filename to 8.3 format, the filename will be truncated to 8.3 format.
3. Copy the file to the bootable device.
4. Boot the system to DOS by using the bootable device.
5. Run the executable under DOS. Follow the instructions provided by the flash utility.
EFI: Dell update package instructions
Download the needed file:
1. Download the file on this link:.
2. If the Export Compliance Disclaimer window appears, click the I agree link if you accept the agreement.
3. When the File Download window appears, click Save to save the file to your hard drive.
Installation:
You can update the BIOS using a UEFI shell bootable media, such as a USB key.
1. Copy the file to the bootable device with UEFI shell.
2. Boot the system to UEFI shell by using the bootable device.
3. Run the executable (.efi) under the UEFI shell. Follow the instructions provided by the flash utility.
You can also load this executable directly from BIOS Boot Manager without a UEFI shell bootable media.
1. Copy the file to a USB device
2. Plug in the USB device and press F11 during POST to enter BIOS Boot Manager
3. Navigate to the System Utilities menu and select BIOS Update File Explorer
4. Select the USB device and navigate through the directory contents to find the executable (.efi)
5. Launch the executable and follow the instructions provided by the flash utility.
Linux DUP: Dell Update Package Instructions
Download the needed file:
1. Download the file on this link:.
2. When the File Download window appears, click Save to save the file to your hard drive.
Installation:
1. Read over the release information presented by executing the "./[model]_BIOS_LX_[revision].BIN --version" command from the shell.
2. Download and install any prerequisites identified in the above step before proceeding.
3. Install any necessary Embedded Systems Management firmware prior to this BIOS update.
4. Run the update by executing "./[model]_BIOS_LX_[version].BIN" from the shell.
5. Follow the remaining prompts to perform the update.
Windows Dup: Dell Update Package Instructions
Download the needed file:
1. Download the file on this link:.
2. When the File Download window appears, click Save to save the file to your hard drive.
Installation:
1. Browse to the location where you downloaded the file and double-click the new file.
2. Read over the release information presented in the dialog window.
3. Download and install any prerequisites identified in the dialog window before proceeding.
4. Install any necessary Embedded Systems Management firmware prior to this BIOS update.
5. Click the Install button.
6. Follow the remaining prompts to perform the update.
GnuPG: Signature of Dell Update Package Instructions
Download the needed file:
1. Download the file on this link:.
2. When the File Download window appears, click Save to save the file to your hard drive.
Installation:
1. Import the Dell public key. (You only need to do this once on your system.)
2.Verify the Dell Update Package by using its signature file, [model]_BIOS_LX_[version].BIN.sign
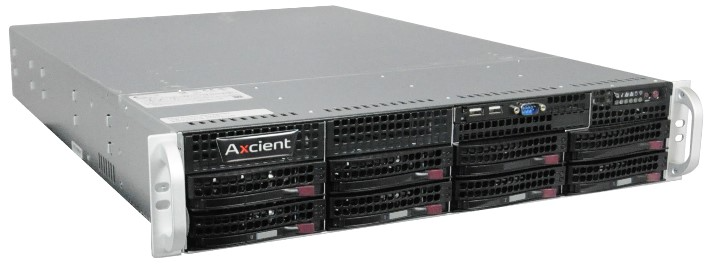
Details about Axcient appliance options and specifications
X11 PURLEY BIOS FLASH PACKAGE UPDATES for ECO 10330
First, download X11_BIOS_Racks.bin at
https://training.securewebportal.net/x360/x360Recover/BIOS_Updates_for_ECO_10330/X11_BIOS_Racks.bin
Then, read and follow these instructions carefully:
On X11 Purley platforms, Supermicro introduced a jumper-free solution that places ME into the manufacturing mode.
The user doesn't have to open the chassis to change the ME-related jumper on the motherboard any more.
The ME manufacturing mode is required upon updating all software-strap settings in the Flash Descriptor Table (FDT) inside the ME region.
If the user does not use Supermicro's Purley BIOS flash package, the BIOS will instruct the AMI AFU tool to terminate the process with the below message:
"- Error: Please use BIOS flash package from www.supermicro.com for
BIOS update."
The following instructions describe the BIOS upgrade process of the X11 Purley BIOS flash package. Please follow the instructions carefully to prevent the need of any RMA repair or replacement.
================================================
Standard BIOS Update Procedure under UEFI Shell
================================================
1. Save the BIOS update package to your computer.
2. Extract the files from the UEFI folder of the BIOS package to a USB stick.
(Note: The USB stick doesn't have to be bootable, but has to be formatted with the FAT/FAT32 file system.)
3. Plug the USB stick into a USB port, boot to the Build-In UEFI Shell, and type FLASH.nsh BIOSname#.### to start the BIOS update:
Shell> fs0:
fs0:\> cd UEFI
fs0:\UEFI> flash.nsh X11DPU7.218
4. The FLASH.NSH script will compare the Flash Descriptor Table (FDT) code in the new BIOS with the existing one in the motherboard:
a. If a different FDT is found, a new file, STARTUP.NSH, will be created, and the system will go into reboot in 10 seconds if no key is pressed. Press "Y" to go into system reboot right away. At the reboot, hit "F11" key to invoke the boot menu & boot into the build-in UEFI Shell again. The BIOS update will resume, automatically.
b. If the FDT is the same, the BIOS update will be started right away. No reboot will be needed.
5. Do not interrupt the process until the BIOS update is complete.
6. Perform an A/C power cycle after the message indicating the BIOS update has completed.
7. Go to the BIOS configuration, and restore the BIOS settings.
Notes:
* Supermicro no longer supports the BIOS update method in DOS.
* If the BIOS flash fails, you may contact our RMA Dept. to have the BIOS chip reprogrammed. This will require shipping the board to our RMA Dept. for repair. Please submit your RMA request at http://www.supermicro.com/support/rma/.
********* BIOS Naming Convention **********
-(For BIOS 3.4 or earlier)-
BIOS name : PPPPPSSY.MDD
PPPPP : 5-Bytes for project name
SS : 2-Bytes supplement for PPPPP (if applicable)
Y : Year, 4 -> 2014, 5-> 2015, 6->2016
MDD : Month + Date, for months, A -> Oct., B -> Nov., C -> Dec.
E.g., For BIOS with the build date, 2/18/2017:
X11DPU+ -> X11DPU7.218
X11DPi-T -> X11DPi7.218
-(For BIOS 3.4a or later)-
BIOS name : BIOS_X11DXXXXX-BBBB_YYYYMMDD_VVV_T.TTt_STDsp.bin
"BIOS" : BIOS image identifier
X12DXXXXX : Project name
BBBB : 4-digit project ID
YYYY : Year of the build date
MM : Month of the build date
DD : Day of the build date
T.Tt : BIOS revision number
"STD" : Standard BIOS ("OEM" = Custom BIOS)
Examples:
X11DPi-N(T) -> BIOS_X11DPi-N-0917_20210312_3.4a_STDsp.bin
X11DPT-B(H) -> BIOS_X11DPTB-0962_20210113_3.4a_STDsp.bin
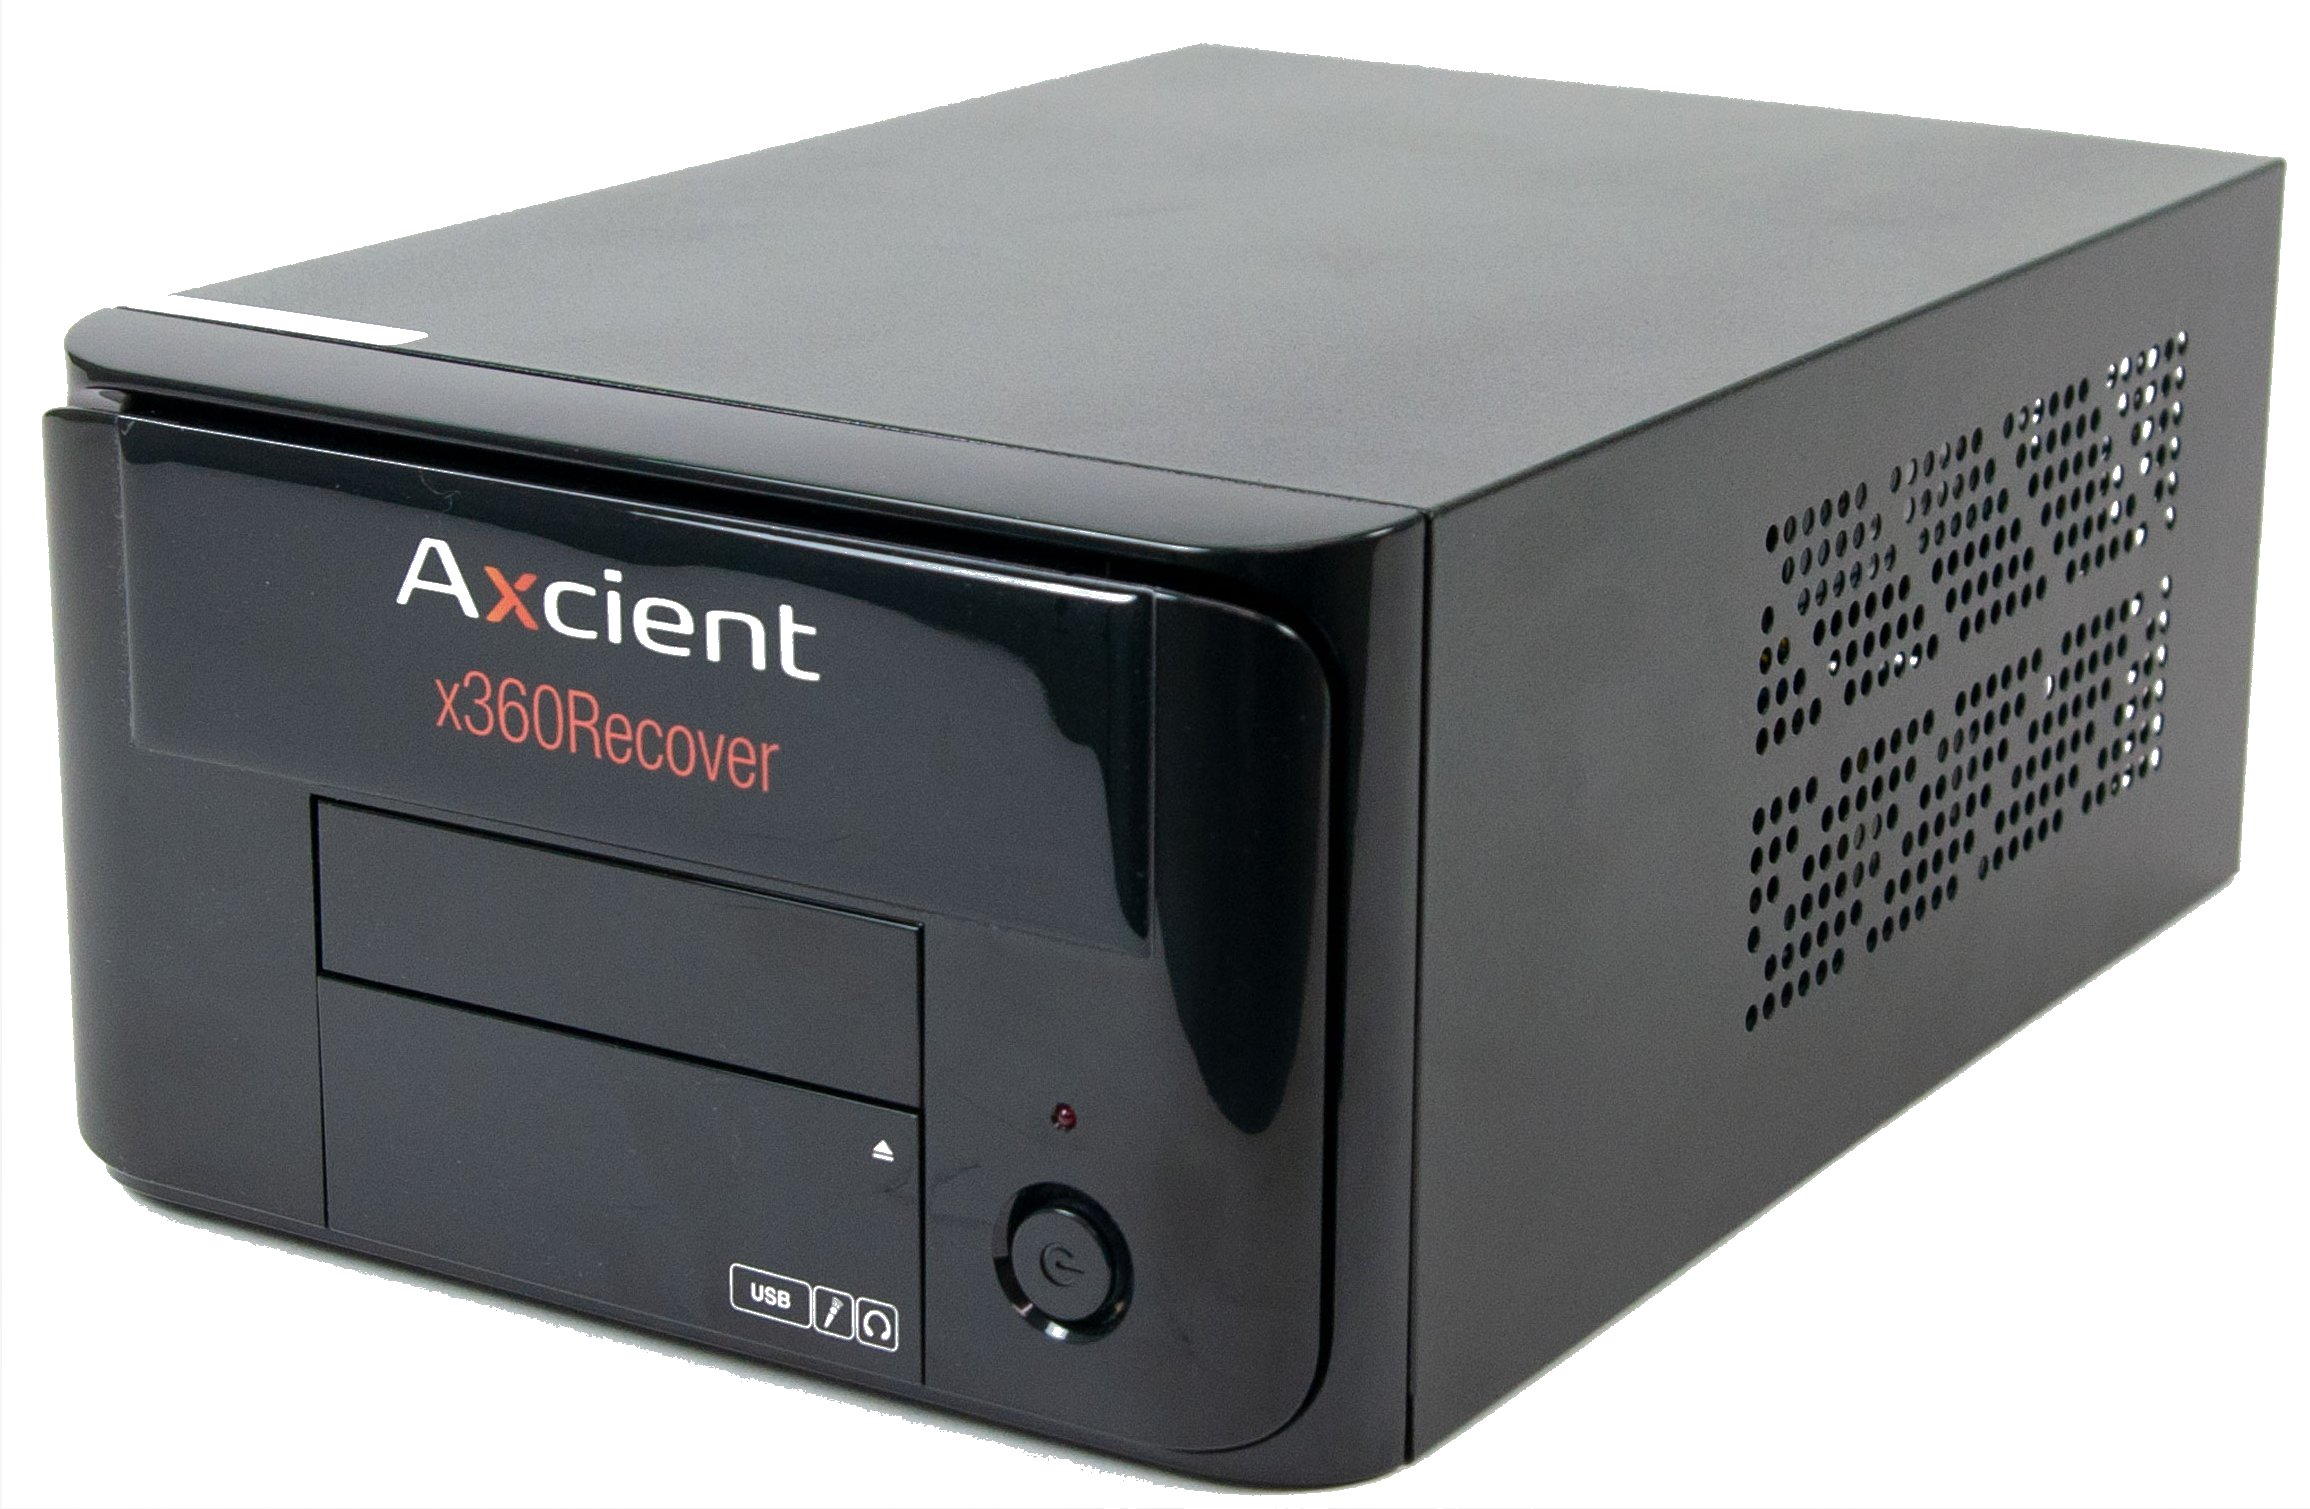
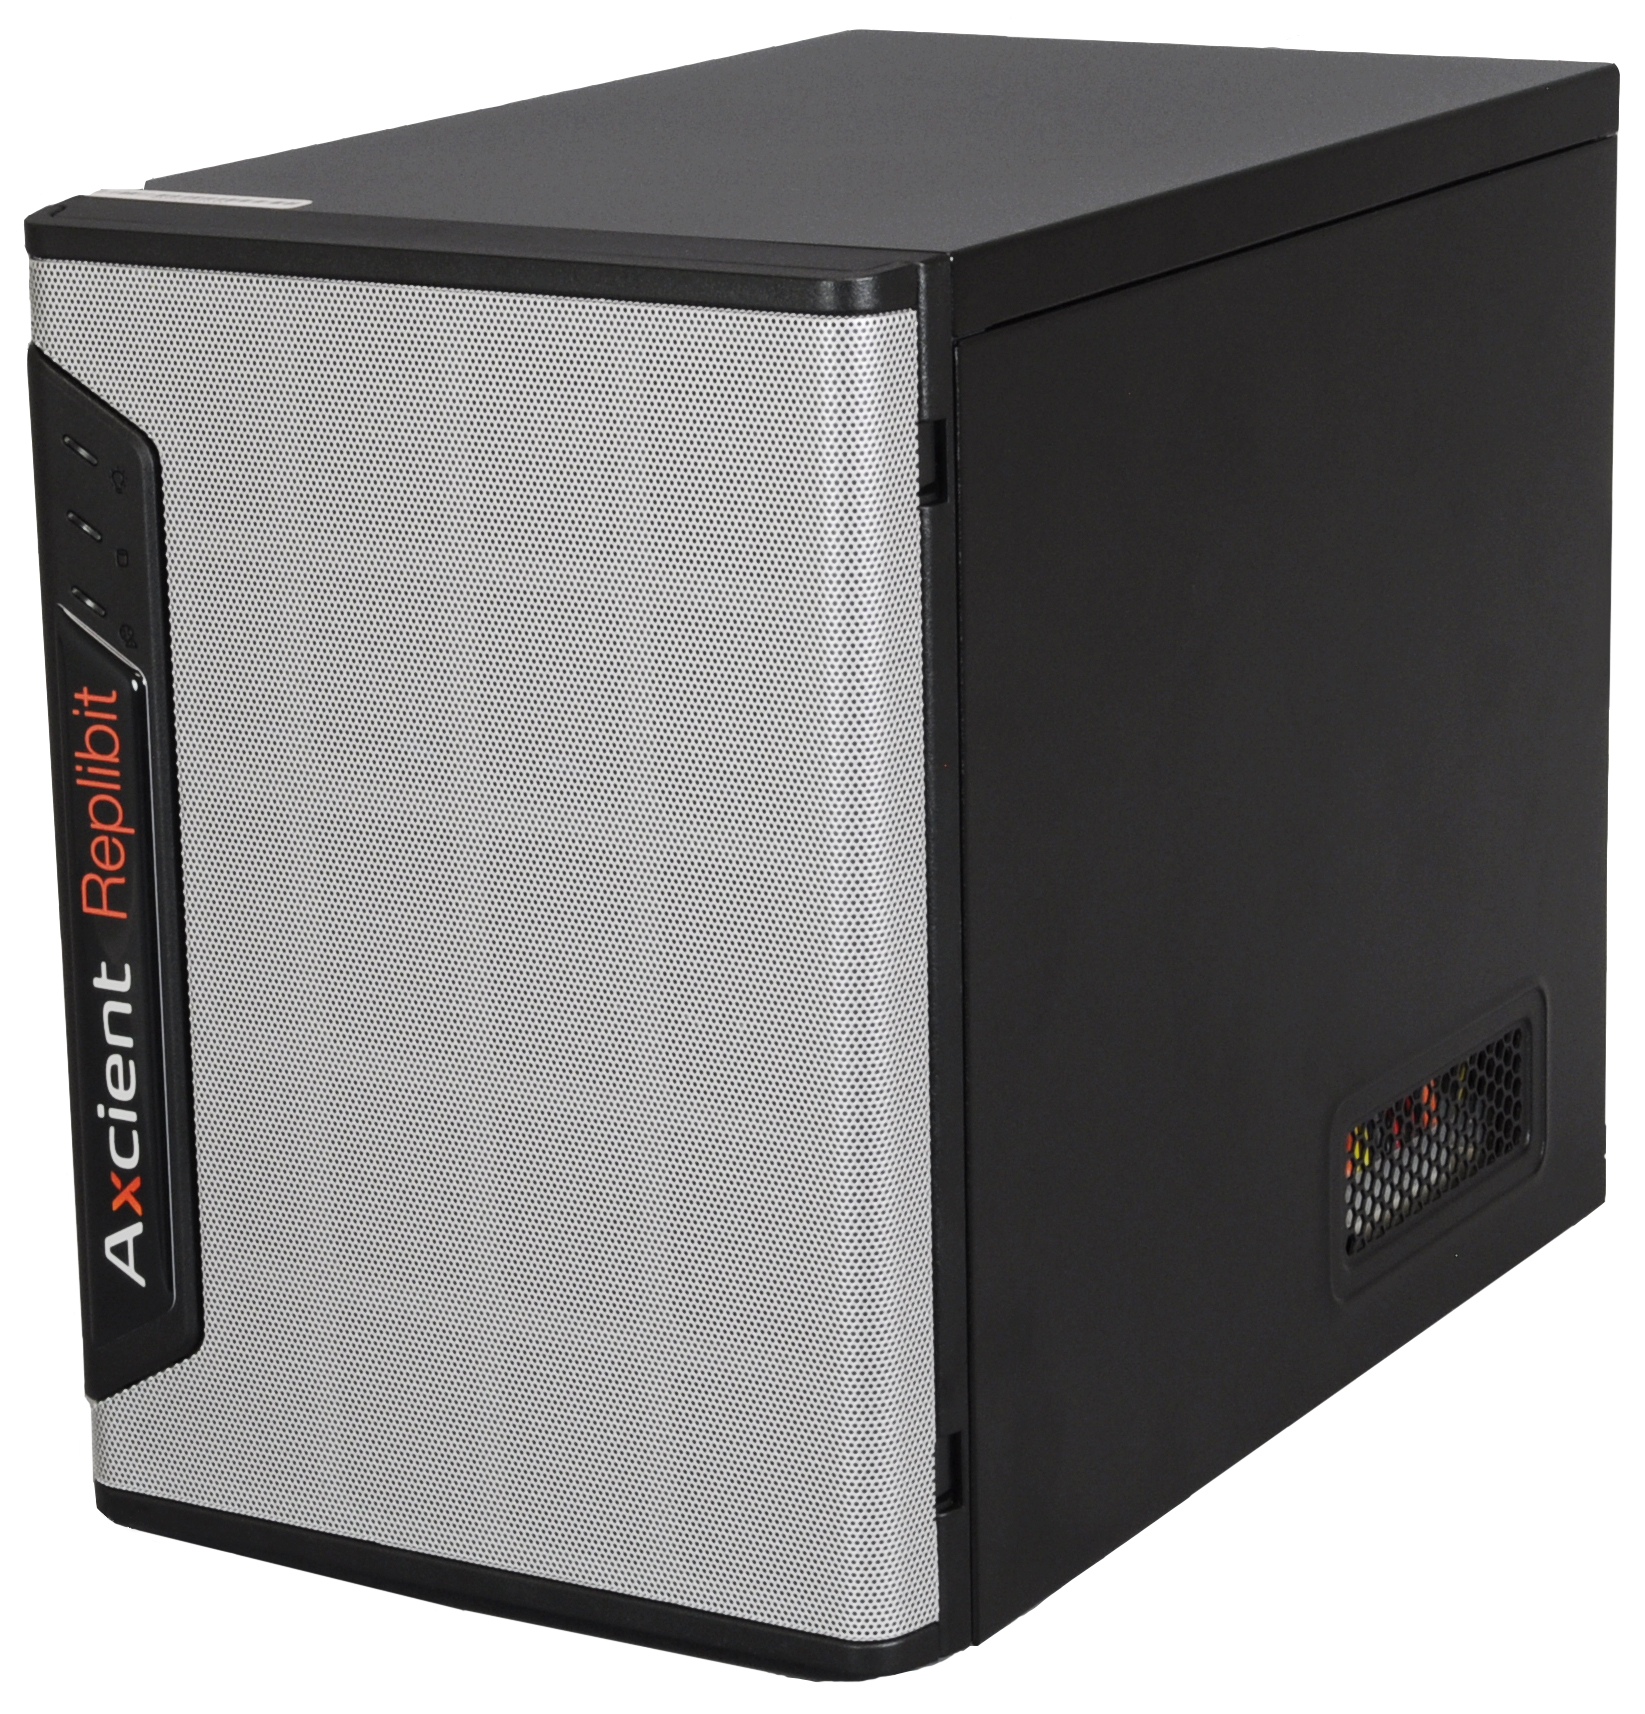
For Axcient Eco and Mini appliances
Details on Axcient appliance options and specifications
X12 BIOS UPDATE for ECO 10330
DOWNLOADS:
X12_BIOS_HDDs.bin is at https://training.securewebportal.net/x360/x360Recover/BIOS_Updates_for_ECO_10330/X12_BIOS_HDDs.bin
X12_BIOS_SSDs.bin is at https://training.securewebportal.net/x360/x360Recover/BIOS_Updates_for_ECO_10330/X12_BIOS_SSDs.bin
Please follow the instructions carefully to prevent the need of any RMA repair or replacement.
================================================
Standard BIOS Update Procedure under UEFI Shell
================================================
1. Save the BIOS update package to your computer.
2. Extract the files from the UEFI folder of the BIOS package to a USB stick.
(Note: The USB stick doesn't have to be bootable, but has to be formattedwith the FAT/FAT32 file system.)
3. Plug the USB stick into a USB port, boot to the Build-In UEFI Shell, and type FLASH.nsh BIOSname#.### to start the BIOS update:
Shell> fs0:
fs0:\> cd UEFI
fs0:\UEFI> flash.nsh X11DPU7.218
4. The FLASH.NSH script will compare the Flash Descriptor Table (FDT) code in the new BIOS with the existing one in the motherboard:
a. If a different FDT is found, a new file, STARTUP.NSH, will be created, and the system will go into reboot in 10 seconds if no key is pressed. Press "Y" to go into system reboot right away. At the reboot, hit "F11" key to invoke the boot menu & boot into the build-in UEFI Shell again. The BIOS update will resume, automatically.
b. If the FDT is the same, the BIOS update will be started right away. No reboot will be needed.
5. Do not interrupt the process until the BIOS update is complete.
6. Perform an A/C power cycle after the message indicating the BIOS update has completed.
7. Go to the BIOS configuration, and restore the BIOS settings.
Notes:
* Supermicro no longer supports the BIOS update method in DOS.
* If the BIOS flash fails, you may contact our RMA Dept. to have the BIOS chip reprogrammed. This will require shipping the board to our RMA Dept. for repair. Please submit your RMA request at http://www.supermicro.com/support/rma/.
********* BIOS Naming Convention **********
-(For BIOS 3.4 or earlier)-
BIOS name : PPPPPSSY.MDD
PPPPP : 5-Bytes for project name
SS : 2-Bytes supplement for PPPPP (if applicable)
Y : Year, 4 -> 2014, 5-> 2015, 6->2016
MDD : Month + Date, for months, A -> Oct., B -> Nov., C -> Dec.
E.g., For BIOS with the build date, 2/18/2017:
X11DPU+ -> X11DPU7.218
X11DPi-T -> X11DPi7.218
-(For BIOS 3.4a or later)-
BIOS name : BIOS_X11DXXXXX-BBBB_YYYYMMDD_VVV_T.TTt_STDsp.bin
"BIOS" : BIOS image identifier
X12DXXXXX : Project name
BBBB : 4-digit project ID
YYYY : Year of the build date
MM : Month of the build date
DD : Day of the build date
T.Tt : BIOS revision number
"STD" : Standard BIOS ("OEM" = Custom BIOS)
Examples:
X11DPi-N(T) -> BIOS_X11DPi-N-0917_20210312_3.4a_STDsp.bin
X11DPT-B(H) -> BIOS_X11DPTB-0962_20210113_3.4a_STDsp.bin
SUPPORT | 720-204-4500 | 800-352-0248
- Contact Axcient Support at https://partner.axcient.com/login or call 800-352-0248
- Free certification courses are available in the Axcient x360Portal under Training
- To learn more about Axcient products, sign up for a free one-on-one training
- Subscribe to the Axcient Status page for updates and scheduled maintenance
1668